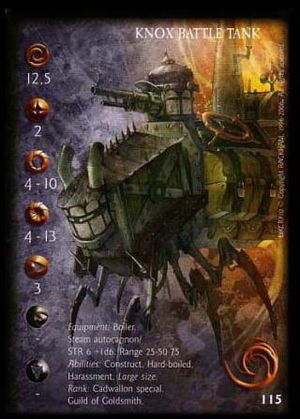
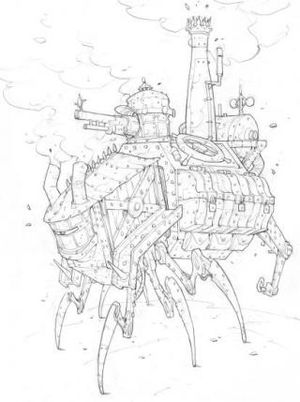
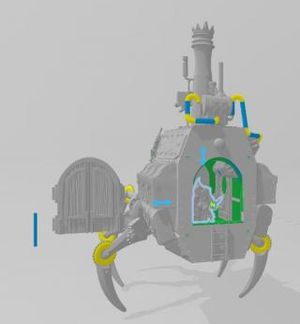
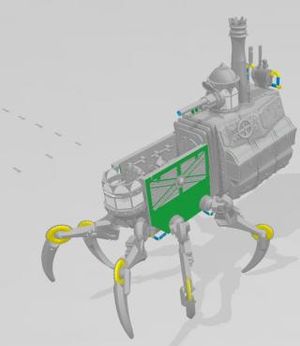
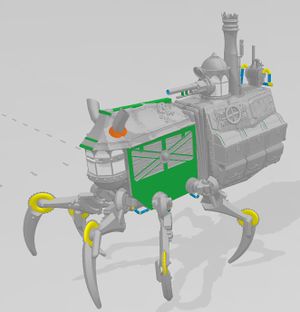
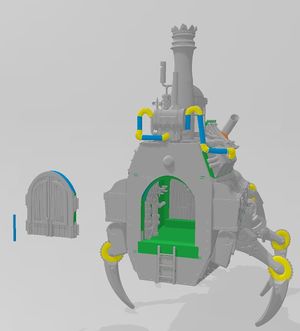
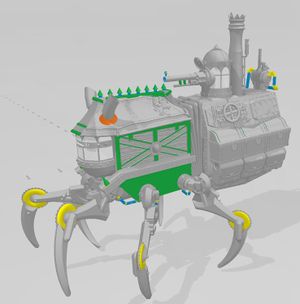
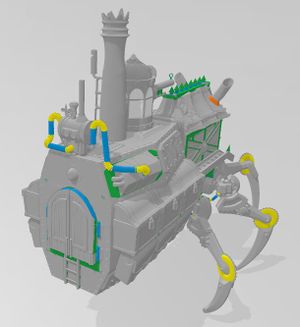
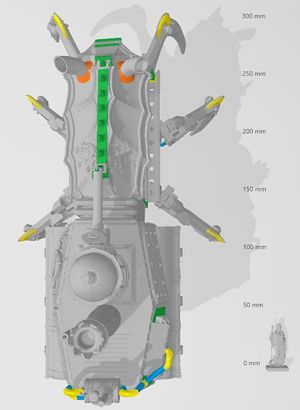
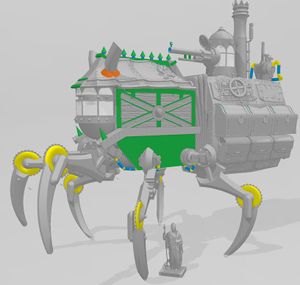
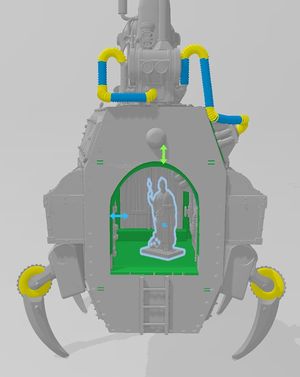
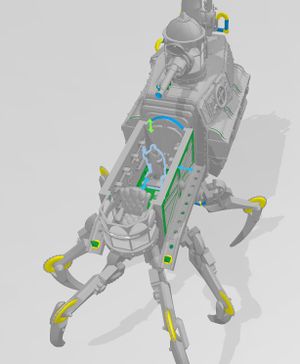
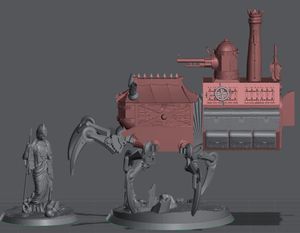
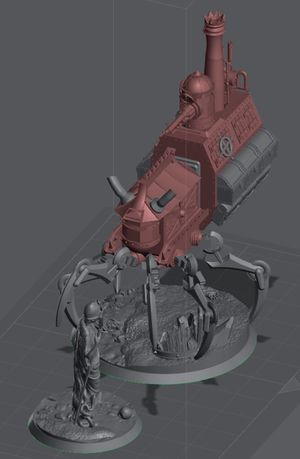
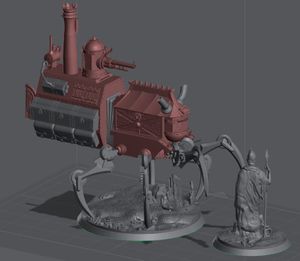
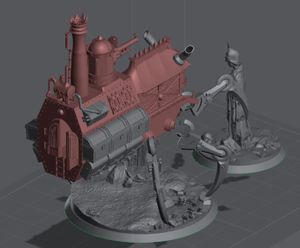
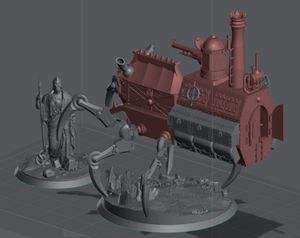
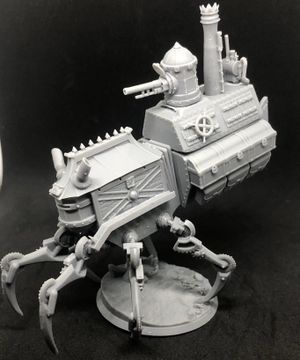
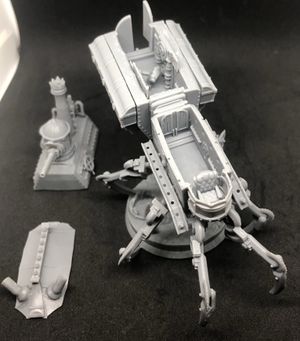
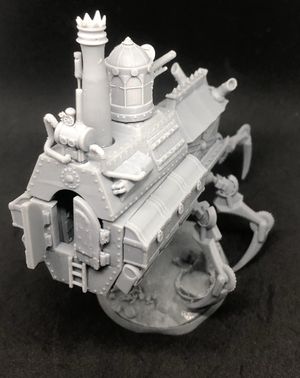
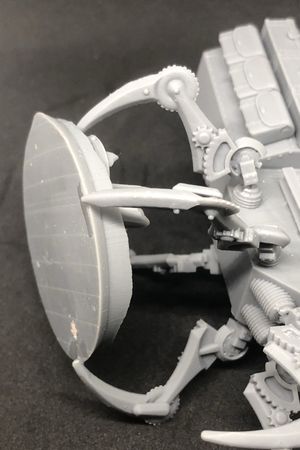
3D sculpture of Knox Battle Tank

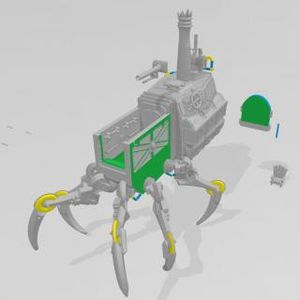
Knox Battle Tank
After some discussions on the Confontation US discord, the Knox interested several players, I decided to sculpt it in 3D. I have to say that even if it takes time, I find that the architecture side is easier to realize than a humanoid.
I tried to ask the rights to the artist of the profile (Guitton I think) but no return either by facebook or his website. So impossible to sell such a realization without the authorization of the author. Too bad, it will be free available for download.
In the Profile tab, there are 2 pictures of the profiles I was inspired to create my version.
I'm not too enthusiastic about making a crane at the back because I think it's ugly and will interfere with access to the opening to carry troops. This might be an option for those who want to print it.
I feel like I'm getting younger by making Lego because I want to be able to do this at 32mm scale, so with the possibility to carry 4 to 5 figures ( ability included in the Confédé version). Now, thanks to the magic of digitization and 3D, nothing will prevent me from printing at the scale I want, as long as I don't go below a certain thickness of part to avoid breaks.
So, designing everything from scratch would be rather time consuming, so I decided to use about 50% of parts made by other artists and modify them and then create the missing parts.
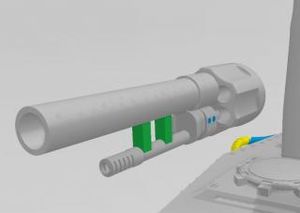
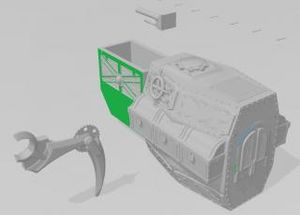
In the Specific tab, there are some specific pieces created for this model.
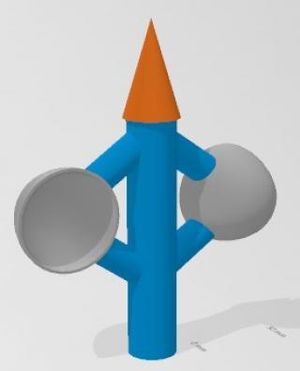
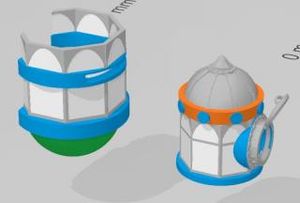
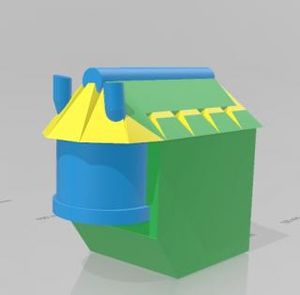
In the Tests tab, Testing the cabin from scratch.
In the Steps tab, Different steps of my work.
In the end, this does not correspond 100% to the concept, but it is very close to it, last updates in the Last tab.
There are still a few details to deal with and especially the cutting of parts and connection systems (pins, rods, assemblies...) to be able to do a 3D printing and check that everything is well combined.
So, everything was going well until now with my Lenovo L340 i5/8GB/GTX 1050 3GB laptop, but as I keep adding elements, it's getting slow, sometimes I have to wait several minutes for some changes. I just ordered 16GB of RAM, I hope it will be enough, but anyway I can't do better without changing my machine and I don't have the means for that.
=======
My sculpture is done.
Now, it only remains to cut the parts and the "stemming" (allowing the gluing after printing) to be able to print in 3D.
Then to prepare the printing by adding supports.
After doing some "crash tests", I could check if some modifications are to be done and share the files.
PS. not too happy with the roof which is not too symmetrical in the length but I would see how it comes out in the printing.
Tested, it's online : Files on Cults3D
PS. obligation to glue the front legs under a 50mm base to balance the weight of the back part, or plan to use ballast under the base.
